You might think making your own mayonnaise is complicated, but I'm here to tell you it's one of the simplest kitchen upgrades you can make. The real magic happens when you slowly combine a good olive oil with an egg and a splash of acid. The result? A creamy, incredibly flavorful spread that leaves store-bought versions in the dust.
Why Homemade Mayo Is a Culinary Game-Changer
Look, the jar of mayo in your fridge is fine. It does its job. But once you taste the rich, velvety texture of mayonnaise made from scratch with a beautiful olive oil, you'll understand they're not even in the same category. This isn't just about making a condiment; it's about elevating everything you put it on.
Switching from store-bought to homemade puts you in the driver's seat. You get to choose every single ingredient, which means you can craft something truly exceptional.
Elevate Flavor and Health
The most dramatic difference is the flavor. Using a delicate, fruity extra virgin olive oil lends a subtle peppery note and complexity you'll never find in a jar. Commercial mayos are almost always made with neutral, heavily processed seed oils, but a quality olive oil brings its own distinct personality to the mix.
That choice also comes with a major health boost. By using olive oil, you’re adding heart-healthy monounsaturated fats to your diet—a world away from the oils found in most commercial brands. When you make it yourself, you can:
- Skip the preservatives and other artificial ingredients entirely.
- Avoid hidden sugars and high-fructose corn syrup.
- Control the sodium content down to the last grain of salt.
This shift towards quality ingredients is more than just a passing fad. In the world of "foodie culture," gourmet mayonnaise made with premium ingredients like extra virgin olive oil can fetch a price 20–30% higher than standard options. It's a premium a growing number of people are willing to pay for better taste and health.
The Rise of Premium Condiments
This isn't just a niche hobby; it's a reflection of a broader change in how we think about food. The demand for healthier, gourmet condiments is on the rise, especially with younger food lovers. In Western Europe and North America, 40–50% of this group has shown they're happy to pay more for products they see as higher quality. You can even explore the mayonnaise market trends to see how consumer tastes are evolving.
Whipping up your own batch of olive oil mayonnaise puts you right at the heart of this movement. It’s an empowering, and frankly delicious, way to bring a little gourmet quality right into your own kitchen.
Choosing Your Core Ingredients
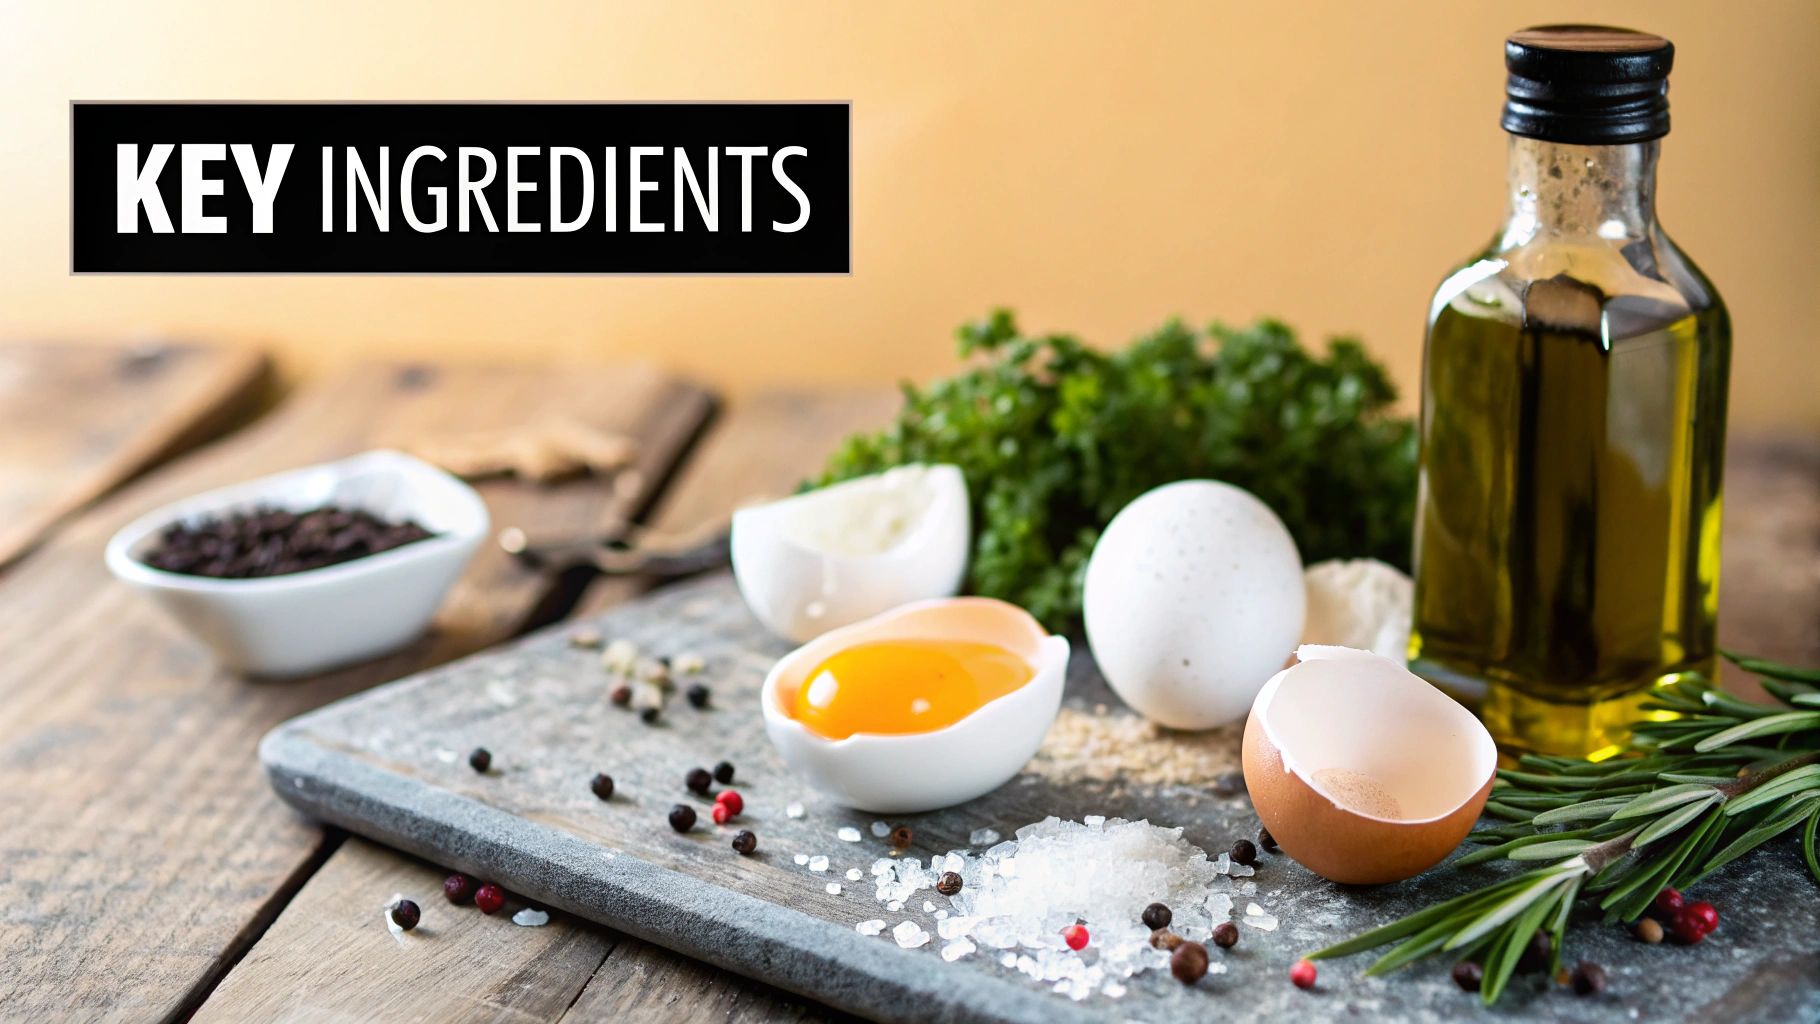
The success of your homemade olive oil mayonnaise comes down to just three things: the oil, the egg, and the acid. Get these three right, and you're already 90% of the way to a creamy, delicious result. Think of it less as a recipe and more as a technique where quality is everything.
The star of the show is, naturally, the olive oil. But here’s the first big lesson I learned: the bold, peppery extra virgin olive oil you love for dipping bread is not your friend here. When you emulsify it, those strong, grassy notes get amplified and can make your mayonnaise taste surprisingly bitter.
Selecting the Perfect Olive Oil
For a beautifully balanced mayonnaise, you’ll want to reach for a ‘light’ or ‘delicate’ extra virgin olive oil. These have a much milder, fruitier flavor that won't wrestle with the other ingredients. You still get all the wonderful health benefits and a hint of that classic olive oil taste, but without any of the aggressive bite.
Another pro tip is to blend your oils. I often do a 50/50 split of a delicate EVOO and a neutral-tasting oil like avocado or safflower. This is a fantastic trick for getting that lovely olive oil essence while guaranteeing a smooth, universally loved flavor.
The demand for high-quality olive oil is huge. In the 2023/24 crop year, the United States alone imported a massive 362,618 tonnes. It's telling that 71% of those imports were virgin olive oils—exactly the kind you need for a great mayo. If you're curious, you can dig into these global olive oil statistics and see the trends for yourself.
To help you pick the right bottle, here’s a quick breakdown of how different olive oils behave in mayonnaise.
Olive Oil Suitability for Mayonnaise
| Olive Oil Type | Flavor Profile | Best For Mayonnaise? | Pro Tip |
|---|---|---|---|
| Extra Virgin (Robust) | Peppery, grassy, intense, often bitter | No | The strong flavors become overwhelming. Save this for drizzling. |
| Extra Virgin (Delicate/Light) | Fruity, mild, smooth, buttery | Yes | This is the ideal choice for a balanced, flavorful mayonnaise. |
| Light Olive Oil | Very mild, almost neutral | Good | A solid option if you can't find a delicate EVOO. |
| Olive Oil Blends | Mild, controlled flavor | Excellent | Mix 50/50 with a neutral oil (like avocado) for perfect results. |
Choosing a 'light' or 'delicate' EVOO is the single most important decision you'll make to ensure your mayonnaise turns out delicious, not bitter.
Key Takeaway: The secret to avoiding bitter mayonnaise is to use a delicate, light-flavored extra virgin olive oil. A robust, peppery oil can become overpowering when blended, so save those for drizzling and finishing dishes.
The Essential Role of Eggs and Acid
With the oil sorted, let's talk about the egg. The egg yolk contains the lecithin that makes the magic of emulsification happen. The most critical part? It absolutely must be at room temperature. A cold egg just won't emulsify properly, and you'll be on the fast track to a broken, soupy mess. For peace of mind, I always recommend using pasteurized eggs, which are gently heated to eliminate any bacteria. You can find them right next to the regular eggs in most grocery stores.
Finally, you need an acid. This isn’t just for flavor; it also helps stabilize the emulsion and adds a necessary brightness to cut through the richness.
- Fresh Lemon Juice: This is my go-to. It adds a clean, zesty pop that perfectly complements the rich oil and egg.
- White Wine Vinegar: A wonderful alternative if you want a milder tang without the distinct citrus note.
- Apple Cider Vinegar: This brings a sharp, fruity kick that can be fantastic if you're making a mayo for something like a coleslaw.
Oh, and don't forget the mustard! A small spoonful of Dijon mustard does more than just add flavor—it’s a secret weapon. The mucilage in the mustard seeds acts as a powerful emulsifying aid, giving you an extra layer of insurance against your mayo breaking. It's a tiny addition that makes a world of difference.
The Secret to a Perfect Emulsion
Alright, this is where the magic really happens. Making mayonnaise is all about creating a stable emulsion. You're essentially convincing two things that hate each other—oil and water—to play nice and create that creamy texture we're after. The water comes from your lemon juice (or vinegar) and the egg yolk itself.
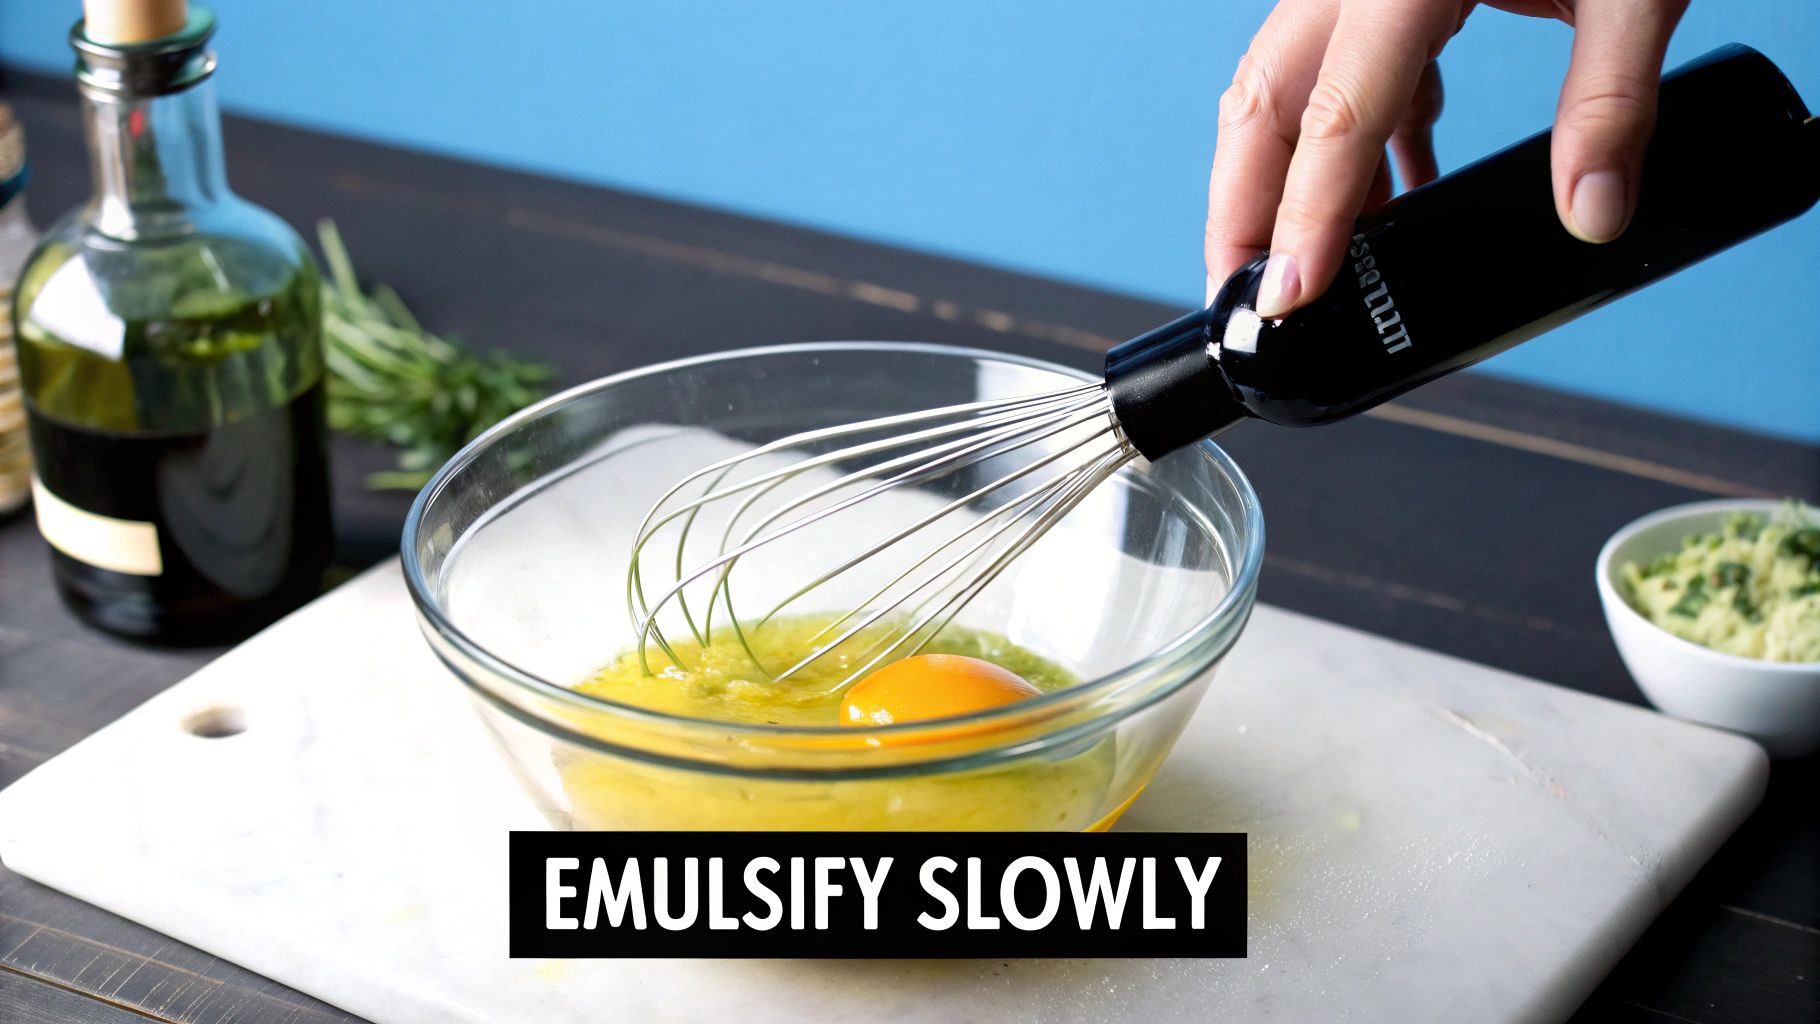
Don't let the word "emulsion" intimidate you. The entire process hinges on one simple, but crucial, technique.
It all comes down to how you add the oil. At the very beginning, you have to go incredibly slowly. I'm talking drop by literal drop. This gives the lecithin in the egg yolk a chance to wrap around each tiny bit of oil, building the foundation for a thick, luscious mayo.
The Foolproof Immersion Blender Method
While you can definitely use a food processor or even just a whisk and some elbow grease, I swear by the immersion blender (or stick blender). It's fast, incredibly reliable, and makes it almost impossible to "break" your mayonnaise.
The trick is to use a tall, narrow jar. The one that came with your blender is probably perfect. This tight space forces everything together and gets the emulsion started in seconds.
Here’s the game-changing technique:
- First, add your room-temperature egg, lemon juice, and Dijon mustard to the bottom of the jar.
- Pour all your olive oil right on top. Don't stress—it will just sit there in a separate layer for a moment.
- Now, place the head of the immersion blender all the way down into the jar, pressing it firmly to the bottom so it's covering the yolk.
- Turn the blender on high speed, but do not move it. Just hold it steady. You'll see a thick, white creaminess start forming at the bottom and climbing its way up the jar. It’s pretty cool to watch!
- Once about half the mixture has emulsified, you can slowly start to tilt and lift the blender to pull in the rest of the oil. The whole thing is over in less than a minute.
This method is so successful because it creates a super-stable base emulsion first, which then has no problem incorporating the remaining oil.
Using a Food Processor or Whisk
If a food processor is what you've got, the principle is the same, it just requires a bit more patience. After you've blended the egg, mustard, and acid, you need to drizzle the oil in through the feed tube with the machine running. Start drop by drop. Once you see it start to thicken up, you can slowly increase the drizzle to a very thin, steady stream.
Feeling old school and want to use a bowl and whisk? Get ready for an arm workout! The rule is the same: whisk the egg and acid like you mean it while adding the oil one single drop at a time. Once it starts to look like mayo, you can speed up the oil stream. This method gives you the most control, but it definitely demands the most effort.
My Personal Tip: No matter which tool you're using, if your mayonnaise just isn't thickening, stop adding oil. Just keep blending or whisking whatever's in the bowl for another 30 seconds. That extra agitation is often all it needs to finally "catch" and form the emulsion.
This simple visual breaks down the core process into three essential stages.
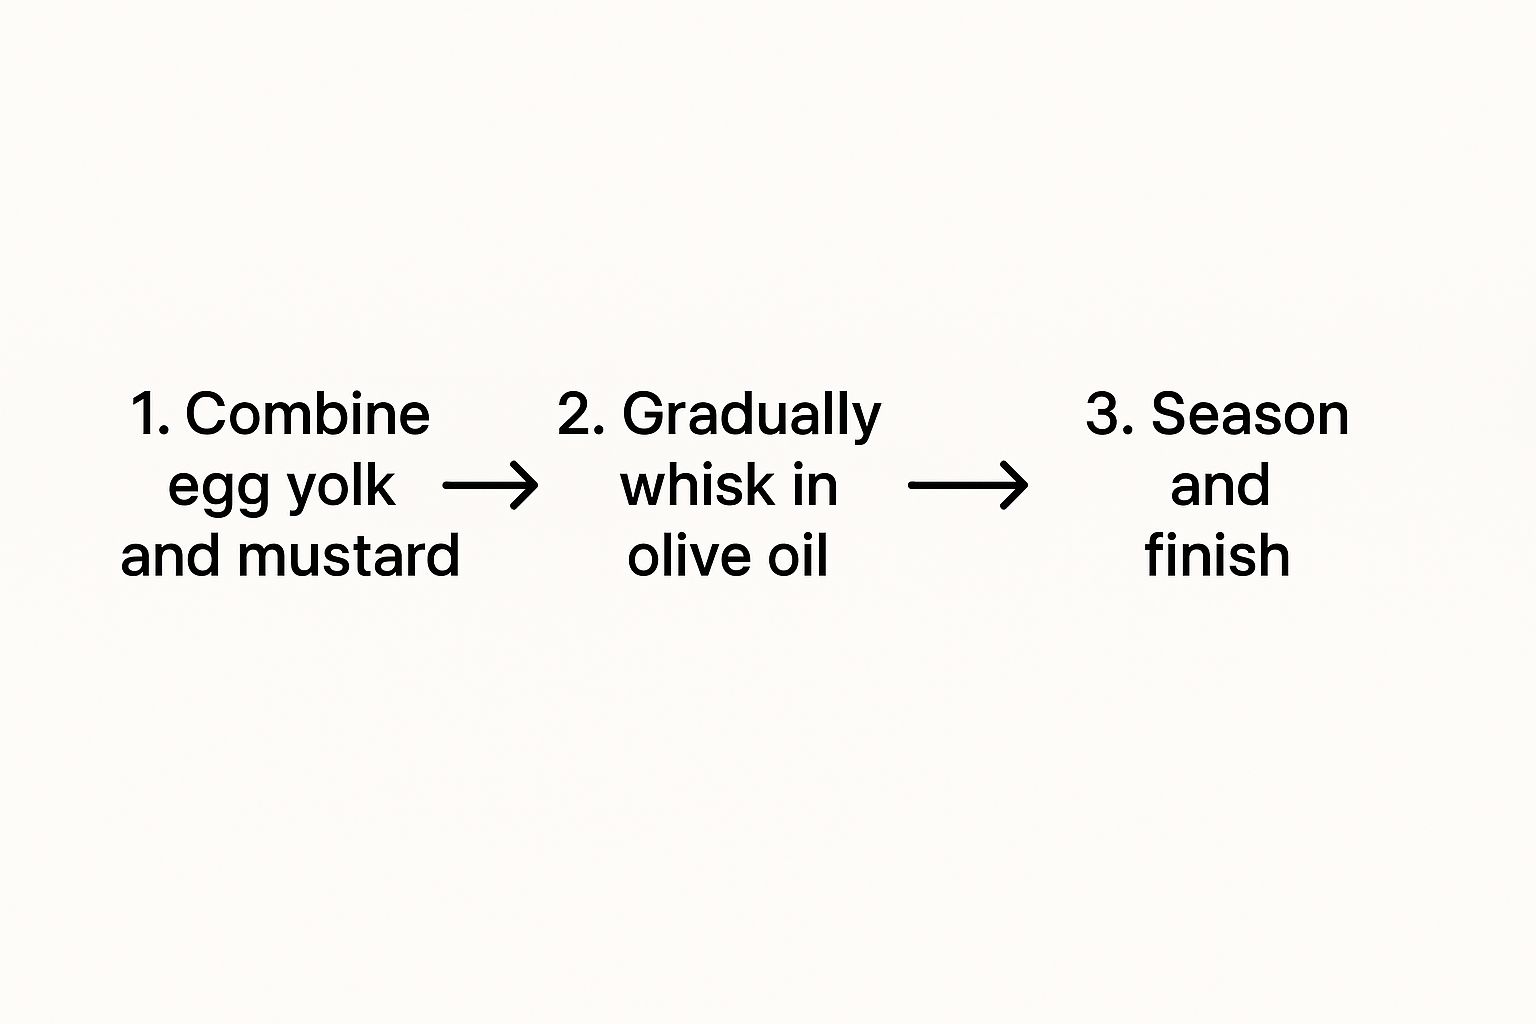
As the graphic shows, success really comes down to gradual incorporation. You start by building a stable base, then slowly add the rest of the oil before you dial in the final taste.
What to Look For at Each Stage
As you're making your mayo, you’ll see a distinct change. At first, you just have a thin, bubbly liquid from the egg and lemon juice.
As you start adding those first few drops of oil, it will begin to look a bit thicker and paler. The "Aha!" moment is when the mixture suddenly catches and transforms from a liquid into a soft, creamy paste. That's your signal that the emulsion is stable, and you can now add the oil in a thin, steady stream.
Your finished olive oil mayonnaise should be thick enough to hold its shape on a spoon and have a lovely, glossy sheen.
How to Fix Broken or Bitter Mayonnaise
It’s happened to the best of us. You’re carefully drizzling in the oil, everything looks perfect, and then—tragedy strikes. Suddenly, you have a greasy, curdled mess instead of creamy mayonnaise. It's a frustrating moment, but don't you dare throw it out. A broken mayo is almost always fixable.
This classic kitchen catastrophe is what we call a "broken" emulsion. The oil has separated from the egg because it was likely added too quickly, especially right at the start. Or maybe your ingredients were a bit too cold. Either way, the rescue mission is surprisingly simple.
Rescuing a Broken Mayonnaise
To save your mayo, you just need to give the separated oil a fresh, stable base to bind with. It’s a do-over, but a quick one.
Here’s my go-to method:
- Start Fresh: Grab a clean bowl and add a single, room-temperature egg yolk. If you don't have a spare yolk, a teaspoon of Dijon mustard works wonders; it’s a fantastic natural emulsifier.
- Add Your Broken Mayo Slowly: Start whisking the fresh yolk (or mustard). Now, pretend your broken, oily mixture is the plain oil from the original recipe. Begin adding it to the new yolk, one single drop at a time, while whisking like your life depends on it.
- Watch the Magic Happen: You’ll literally see the mixture thicken and come back to life. Once it starts looking creamy and stable, you can gradually increase the additions from drops to a very thin, steady stream until all the broken mayo is incorporated.
This little trick has saved more batches of mayonnaise than I can count. You're simply giving the oil droplets another chance to suspend themselves properly, creating that beautiful, creamy texture you were aiming for.
Key Takeaway: The secret to fixing broken mayonnaise is to start over with a fresh emulsifier. A new egg yolk or a bit of mustard provides the foundation. Just add the broken mixture back in, drop by drop, and whisk constantly.
Solving the Bitterness Problem
The other common complaint with olive oil mayonnaise is bitterness. If your mayo tastes bitter, I can almost guarantee the culprit is your olive oil.
A bold, peppery extra virgin olive oil can turn surprisingly bitter when its natural compounds, called polyphenols, get agitated too aggressively. This is especially true when using a high-speed blender or food processor.
If you’ve already made a bitter batch, here are a few damage-control tricks:
- Dilute It: Try blending in a little bit of a neutral oil, like avocado or safflower. This can help tone down the aggressive flavor.
- Balance with Sweetness: A tiny pinch of sugar or a small drizzle of honey can work wonders to counteract bitterness. Add it sparingly, tasting as you go until the balance is right.
Honestly, though, the best fix is preventing it in the first place. Oil can make up 65–80% of your final mayonnaise, so its flavor is everything. Choosing a light, fruity olive oil and incorporating it gently—especially if you're whisking by hand—is your best bet for a smooth, pleasant flavor. To dive deeper into the chemistry, you can explore the science behind mayonnaise ingredients on PMC.
Flavor Variations to Elevate Your Dishes
Once you've mastered the basic olive oil mayonnaise, you've essentially created a blank canvas. This is where the real fun begins. That creamy, rich base is practically begging to be infused with new and exciting flavors, turning a simple condiment into a signature sauce.
The trick isn't just what you add, but when. I've learned this the hard way. Always fold in your flavorings after the mayonnaise is fully emulsified and stable. If you try to blend in chunky ingredients too early, you can break the emulsion. And over-mixing delicate things like fresh herbs will just turn them into a sad, bruised mess.
From Smoky to Zesty
Let's walk through a few of my go-to variations. Think of these as starting points to inspire your own kitchen experiments.
- Roasted Red Pepper & Smoked Paprika: Puree a single roasted red pepper (the jarred kind is a lifesaver here) and gently fold it into your mayo. Add about a half-teaspoon of smoked paprika for a deep, smoky undertone. It’s absolutely fantastic on a grilled chicken sandwich or as a dip for crispy potato wedges.
- Fresh Herb & Lemon Zest: Finely chop about a quarter cup of soft herbs—I love a mix of parsley, chives, and dill. Fold them in with the zest of one whole lemon. This bright, zesty version brings any kind of seafood to life, from baked salmon to fried fish.
Here's a pro tip I swear by: If you're adding anything with a lot of moisture, like those roasted peppers, make sure to pat them dry with a paper towel first. It’s a tiny step that makes a huge difference in keeping your mayonnaise thick and creamy.
Bold and Luxurious Creations
Ready to get a little more adventurous? These next two are showstoppers and surprisingly simple to pull off.
Chipotle-Lime Mayonnaise
This is, without a doubt, my favorite for fish tacos, burgers, or even just as a dip for sweet potato fries. The smoky kick from the chipotle and the bright acidity of the lime are a match made in heaven.
All you have to do is mince 1 to 2 teaspoons of chipotle peppers in adobo sauce and fold them into a cup of your finished mayo. Squeeze in the juice of half a lime, give it a stir, and you're done. Always start with less chipotle—you can easily add more, but you can't take it away!
Truffle-Infused Mayonnaise
If you want to add a touch of luxury, nothing beats truffle mayonnaise. It adds a sophisticated, earthy flavor that makes french fries, steak, or even a simple roast beef sandwich feel incredibly gourmet. The key is to not skimp on the quality of your truffle oil.
Gently whisk 1 to 2 teaspoons of a good black or white truffle oil into your finished mayonnaise. A word of caution: truffle oil is powerful stuff. Start with a small amount and taste as you go. You're aiming for an elegant hint of truffle, not an overpowering punch.
Common Questions About Olive Oil Mayo
So, you've just whipped up a beautiful batch of creamy, homemade mayonnaise. It's a game-changer. But making condiments from scratch instead of grabbing a jar from the store naturally brings up a few questions, especially around storage and safety. Let's walk through the common concerns so you can enjoy every last drop with confidence.
The first thing everyone wants to know is how long it will last. Unlike the store-bought kind, our recipe has no artificial preservatives, which is a good thing! It just means we need to handle it a bit differently.
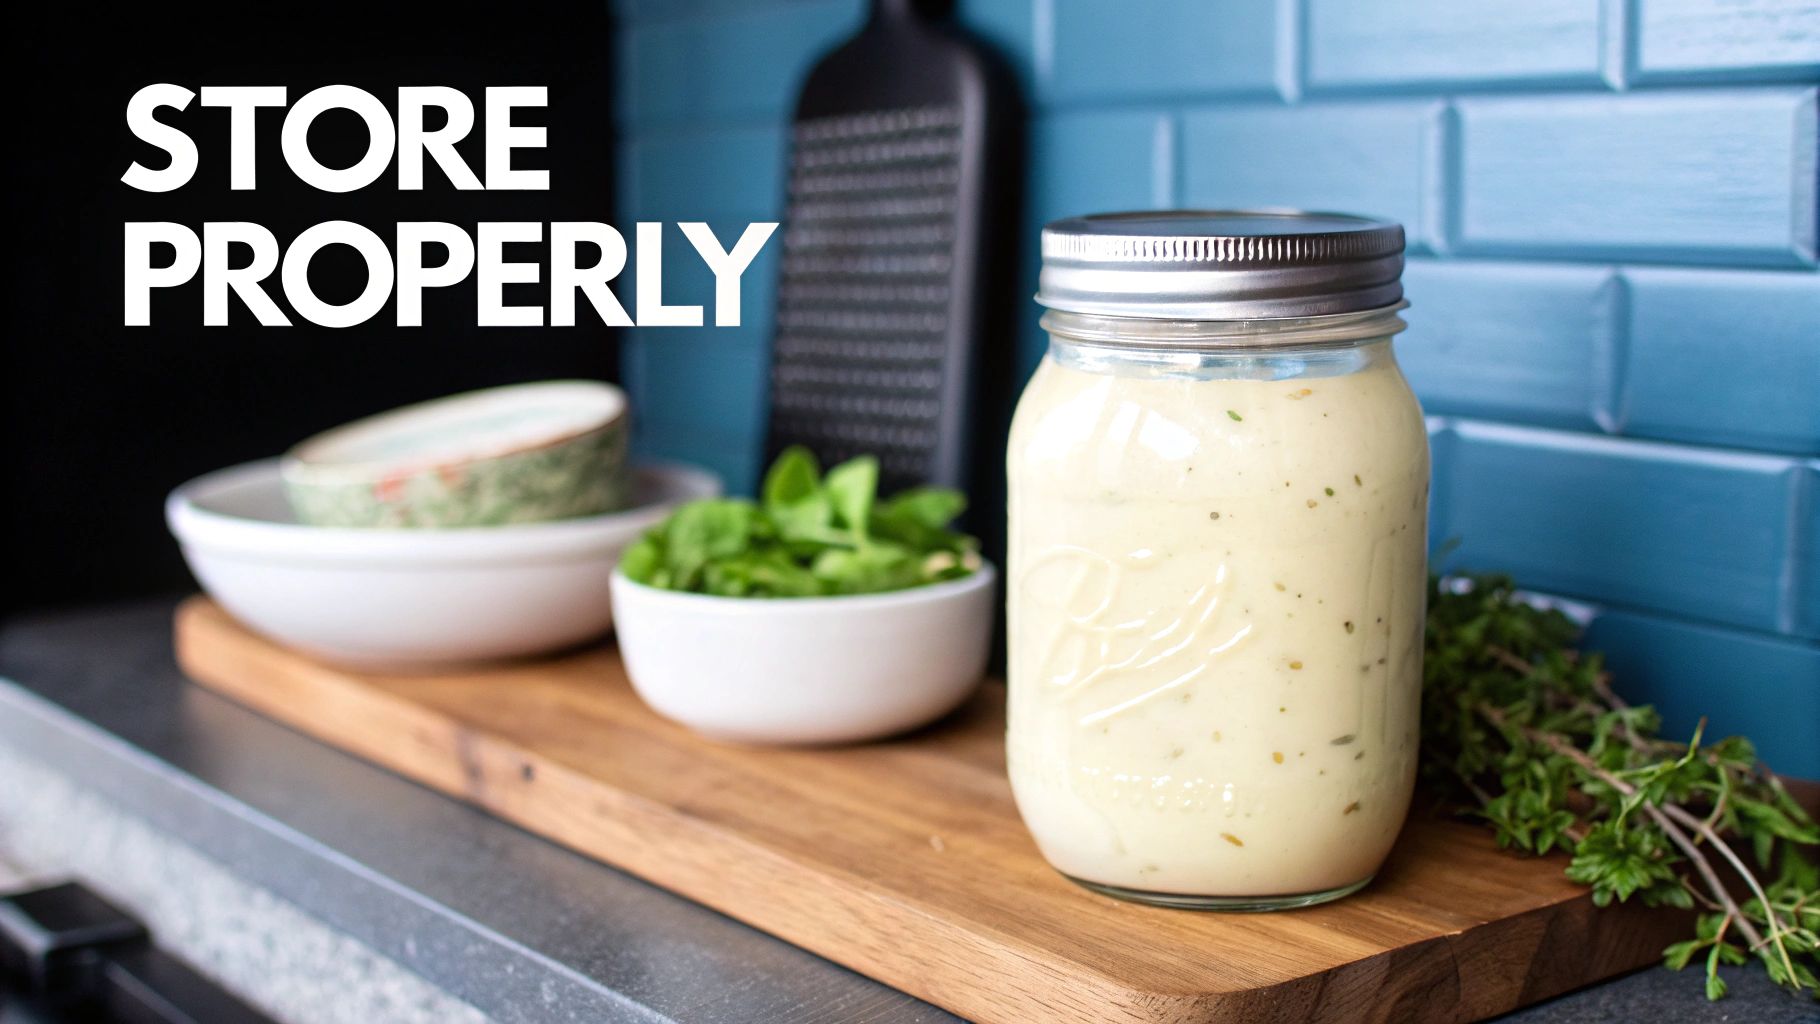
Proper storage is everything.
How to Store Your Mayo and How Long It Lasts
Your fresh mayonnaise needs to be kept in a sealed, airtight container. A small glass jar with a tight lid is my go-to. Tuck it away in the coldest part of your fridge—usually the back of a main shelf, not the door where the temperature bounces around every time you open it.
Stored this way, your olive oil mayonnaise will keep beautifully for up to one week.
A simple but crucial tip: always use a clean utensil every single time you dip into the jar. This prevents any unwanted bacteria from sneaking in. If you ever notice an off-smell, see any discoloration, or if the mayo separates in a weird way, trust your gut. It's always best to play it safe and toss it.
The biggest hang-up for many home cooks is the raw egg. While the risk of Salmonella from fresh, high-quality eggs is quite low, it's a valid concern, particularly for vulnerable groups.
Is It Safe to Use Raw Eggs?
Using raw eggs does come with a small but real risk of Salmonella. Because of this, I strongly recommend using pasteurized eggs if you're serving the mayonnaise to young children, pregnant women, older adults, or anyone with a compromised immune system.
You can typically find pasteurized eggs right in the refrigerated aisle of most grocery stores. They've been gently heated to kill off potential bacteria without actually cooking the egg, making them the perfect, worry-free choice for recipes like this.
Can You Swap Ingredients?
Of course! Think of this recipe as your starting point. While we’ve focused on a lovely, delicate olive oil, you can absolutely play around with it. Avocado oil is a fantastic substitute for a super-neutral, creamy base. The acid is another fun place to experiment.
Here are a few ideas to get you started:
- Apple Cider Vinegar: Gives the mayo a tangy, slightly fruity kick.
- White Wine Vinegar: A bit milder and more delicate. It's a subtle, classic choice.
- Champagne Vinegar: Adds a clean, crisp acidity that feels really sophisticated.
The real joy of cooking from scratch is making it your own. The core technique—that slow, patient emulsification—stays the same, so don't be shy about trying different combinations to find your perfect flavor.
At Learn Olive Oil, we're firm believers that truly understanding your ingredients is the key to making incredible food. From choosing the right bottle for your mayo to knowing the perfect finishing drizzle for a dish, quality is what sets things apart. You can explore more of our expert guides and tasting notes over at learnoliveoil.com to elevate your cooking.


Leave a comment